Welcome back! Did you all do your homework? Did you check out Scott McCloud’s book, Making Comics? Hmm? I’m going to have to call your mothers and check in on you—make sure you’re consuming a healthy comics diet. We’ll get to that in a minute.
NEWS
It’s been a long week, and there continue to be exciting things happening in the comic world, including the passing of Steve Jobs—a visionary who has made sharing comics on our digital devices possible. Little Island Comics (the first kids’ comic book store in North America) is now officially open, and getting great reviews. The second installment of Emily Carroll’s 5-part mini comic Margot’s Room is live on her blog, and will continue until the last week of October. Craig Thompson’s Habibi has spread like wildfire, igniting reviews, conversations, and presentations at APE, the Cartoon Art Museum, and bookstores across the U.S. DC’s reboot has caused quite a stir, losing some faithful readers and gaining some new ones. Comic anthologies such as Aftershock: Artists Respond to Disaster in Japan, and Cartoonists Against Bullying (still looking for more comics submissions, btw), are providing aid to victims of disasters and bullying. It’s an exciting time for comics—both for reading and making them.
LAST WEEK’S CHALLENGE
So, back to the homework: did you do it? The challenge was to come up with an idea for your own comic. It could be an adventure comic, horror, sci-fi…whatever. What did you come up with? Feel free to share your ideas below, or keep them to yourself and use these posts to help bring it to completion. The whole goal of this column is to help us better understand how to make comics—so let us know how we can help.
 This week I’d like to talk about tools—specifically artist’s tools for creating comics (for all you writers out there: we’ll get writing-specific soon enough!).
TOOLS
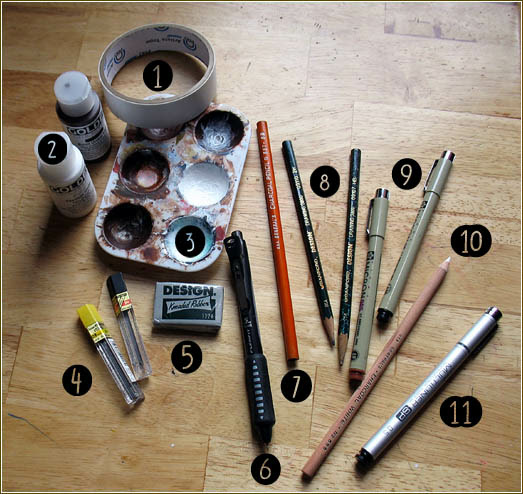
There are thousands upon thousands of tools we can use to make our comics, but I’d like to focus on just a few of the most popular for our purposes: pencils, pens, brushes and tablets. Isn’t it exciting to know that the majority of comics made in the last century have been created using the same tools we use every day to write, take tests, fill out forms, and take notes? Most comics within the last 100 years have been made with humble pencils and pens. Let’s start with pencils.
 PENCILS
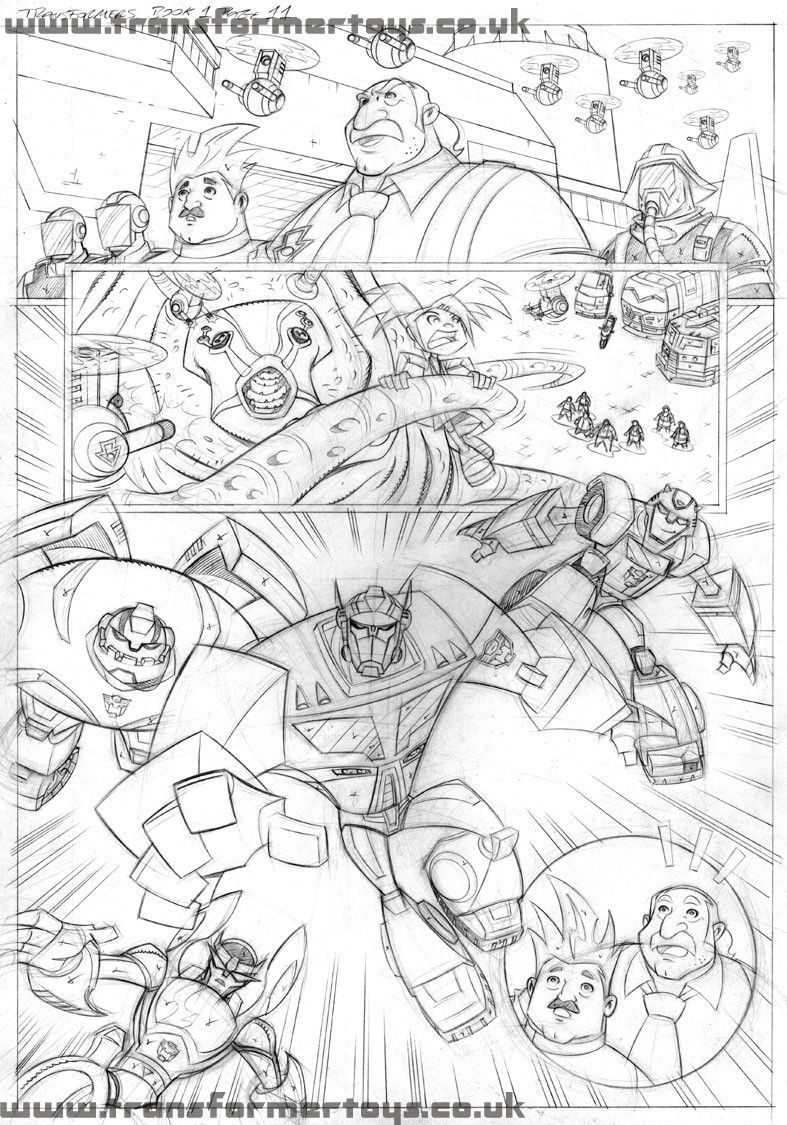
Pencils are great for making comics, because they really contain two helpful tools: graphite and eraser. It’s always a great idea to have some idea of what your comics pages will look like before you draw them, but even the best artists pencil their pages before laying down any ink and locking in their drawing forever. Some artists are daring enough to even make their finished drawings with pencils!
 If you’ve seen any of the many books on drawing, you’ve probably noticed that they use pencils to draw out their basic forms (ovals for heads, cubes for chests, etc), and for “trying out” their drawing to see if it works the way they want, before inking it. Pencils are also great for making thumbnail drawings of your pages and panels. “Thumbnail” drawings are just what they sound like—teeny, tiny drawings, roughly the size of your thumbnail. Drawing at such a small size is great for working out compositions—deciding where things will go and how much space they’ll take up. It helps to plan where your characters and props stand, as well as where you’ll place any speech bubbles or text.
Before planning out any pages, however, pencils are great for designing your characters. I recommend hammering out several drawings of your character as you work him/her out, without erasing. Think less about the drawing itself, and think more about your character. If it doesn’t look quite right, draw it again, but change the parts you don’t like. If you absolutely feel that you must erase, then I suppose I can’t do much to stop you. (Just know that a kneaded eraser lasts much longer, and is more versatile than a pencil-top eraser.)

TYPES OF PENCILS
So, what kind of pencil should you use? Well, it’s really a question that sounds much simpler than it really is. The perfect pencil will feel great between your fingers, work well with your drawing surface, and give you exactly the look you want in a pencil line. It can be as simple as using the #2 pencil you have at home, or as complicated as trying out a series of hard and soft lead pencils in a variety of brands, figuring out if a 2B works better than an 8B. Believe it or not, all pencils are not created equally.
“The numbers and letters are how the graphite is graded. H is for hardness, B for blackness. The HB pencil is completely middle ground on the scale of grading graphite. If you move up in the scale to 2B for example, you will get a slightly softer, blacker lead. An 8B pencil will be extremely soft and black. Moving down in the scale to the H grades of pencil you will have harder leads and lighter pigment. H pencils are good for thin lines and technical drawing, while the softer B leads are better for figure drawing and shading.” (Nicole Hamilton)
Nick Bertozzi has been a favorite creator of mine since I first discovered his graphic novel, The Salon, a few years ago, and I’ve since fallen in love with Stuffed!, Houdini: The Handcuff King and Lewis & Clark. In the video above, Nick talks us through the penciling of a panel in The Salon, noting his reasons for using pencils before inks, and the benefits of laying down graphite first. “You can create an entire world with just a pen and a piece of paper.”
BLUE LINES
And what’s the deal with blue lines? It seems we’ve seen blue lines in comic drawings for decades now, so what are they? It used to be that original comic book art was fed directly into a printer, where it was copied as it was, without any touching up on the computer. ‘Non-Photo Blue’ pencils use a certain shade of blue that isn’t ‘seen’ by printers, so it doesn’t show up in the printed version of the page. That means no erasing, or worrying about smears of graphite. Most comics artists today still use blue lines in their under drawings, either out of habit from the direct-to-printer days, or because it is easy enough to knock out when editing on the computer. Many artists (including Nick) will make a rough drawing in blue, tighten it up with a pencil, and then ink the final.
It’s all about what works best for you and your comic.

Your challenge for this week is to mess around with the drawing tools around you. Whatever you have tucked in drawers around the house, under couch cushions, or at work. Put ‘em to use! Markers, highlighters, pens, pencils, crayons—use ‘em all!
Pay attention to the marks you make. Combine pen with pencil. Use crayons to draw outlines, then fill in the shapes with highlighters. Experiment and explore. You don’t have to make a comic page—you could draw a character from your favorite comics with colored pencils and a Sharpie, or draw yourself as a superhero. I want to see what you come up with, too. Post your pictures in the comments section below, or send us a link to your Flickr, Tumblr, etc. and share what you make.
What are you still doing here? Stop reading and start creating!
